
Alaska Cruise Photography Tips: How to Capture Glaciers, Wildlife & Scenic Shots

Photographing Alaska from a cruise ship feels like stepping into a live documentary. Towering glaciers crack in the distance, whales rise out of dark water, and snow-covered peaks glow in soft northern light. It’s one of the most photogenic places on Earth, but capturing those moments isn’t always easy. The weather changes fast, wildlife moves quickly, and the ship never stops moving. This guide shows you how to take sharp, vibrant photos during your Alaska cruise. You’ll learn the best gear to bring, simple camera settings that work in Alaska, and practical techniques for shooting glaciers, wildlife, and dramatic landscapes from the ship and from port. We share Alaska cruise photography tips grounded in years of firsthand experience on multiple Alaska cruises. Learn, how to get the perfect Alaska cruise photos.
This article may contain affiliate / compensated links. For full information, please see our disclaimer here.
Our Experiences
Our passion for photography started years before we ever stepped on an Alaska cruise ship. Wildlife and landscape photography were the magnet that brought Chris and me together, and it eventually turned us into a couple who travels the world with cameras in hand.
Long before our first Alaska sailing, we took many photography-focused trips and spent countless days chasing light, wildlife, and dramatic vistas.
Even with all that experience, our first Alaska cruise surprised us. We knew how to take a good photo, but photographing from a moving ship was a completely different challenge. Weather shifted every few minutes, whales surfaced far in the distance, and light changed fast in narrow fjords. It took us a while to adjust, learn the pace of cruise photography, and understand how to react quickly when something appeared.
Agnes’ Advice: To understand how ports, routes, and excursions connect, start with our Alaska cruise planning guide.

Over the years, we returned to Alaska by ship many times and photographed Glacier Bay, Hubbard Glacier, and the Inside Passage in different seasons and light conditions.
During those sailings, we captured humpbacks, orcas, sea otters, harbor seals, and bald eagles right from the deck.
Alaska ports of call like Juneau, Skagway, Ketchikan, Sitka, Icy Strait Point, and Haines also became part of our photography journeys, each with its own challenges and rewards.
We use cameras with zoom lenses, but don’t worry if you don’t have advanced gear. A good smartphone can still perform well on an Alaska cruise, and we’re sharing practical tips to help you get strong results with any camera.
These lessons come from real days on the deck, in shifting weather, watching the light change, and learning what works—and what doesn’t—out on Alaska’s waters.
What Makes Alaska Cruise Photography Unique
Alaska looks easy to photograph at first glance, but the conditions can challenge even experienced photographers. The scenery moves quickly, the ship never stops, and the light changes fast as you sail through fjords and narrow passages.
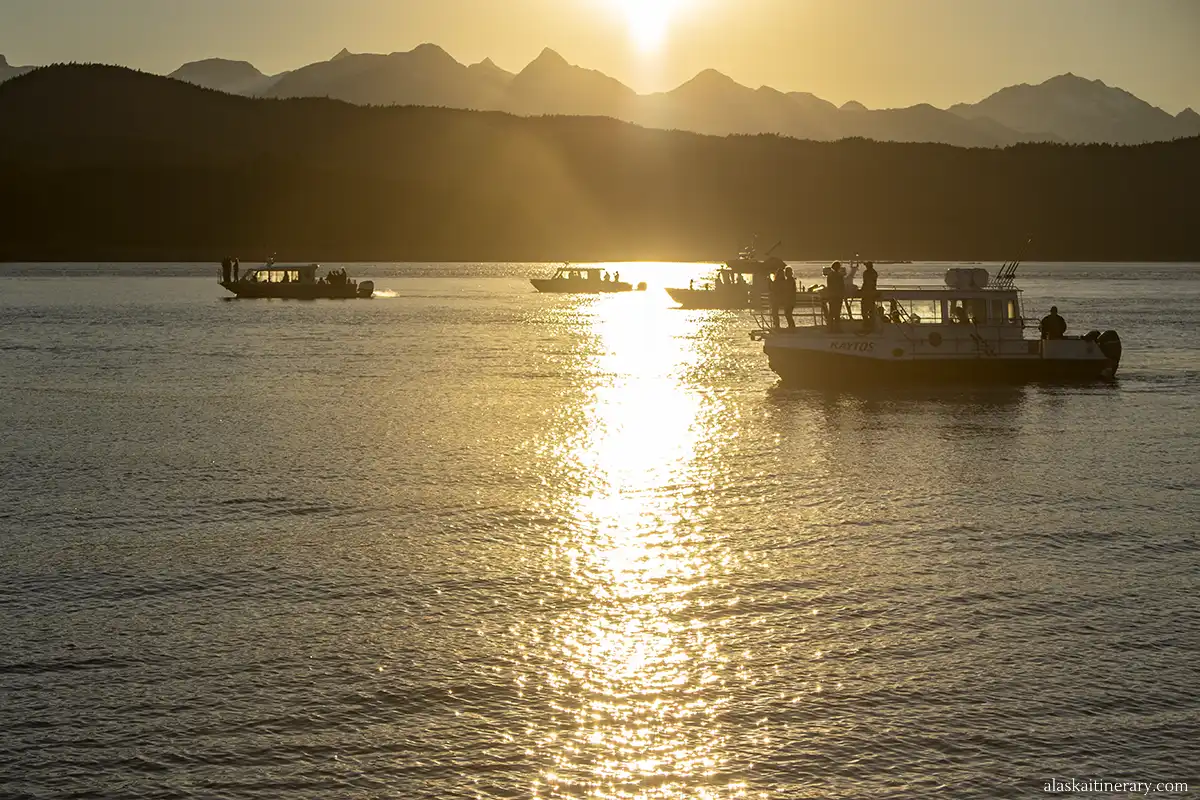
If you cruise in June or July, the long daylight hours and soft midnight sun give you incredible light even late in the evening. Earlier sailings, like April or May, offer the best chance to photograph snow-covered peaks and bright spring contrasts. Late September brings a small possibility of seeing and photographing the aurora, but keep expectations low — Inside Passage ports sit farther south and have much lower Northern Lights activity than Interior Alaska.
Weather shifts are a big factor. One moment you have bright sun on blue ice. A few minutes later, fog rolls in or rain hits the lens. Cloudy days can flatten the light. Clear days can create harsh reflections on glaciers.
Distances are another challenge. Whales and orcas often appear far from the ship. Bald eagles circle high above the water. Seals rest on ice floes that drift away before you get into position. Long zooms help, but even with them, you need patience and quick reactions.

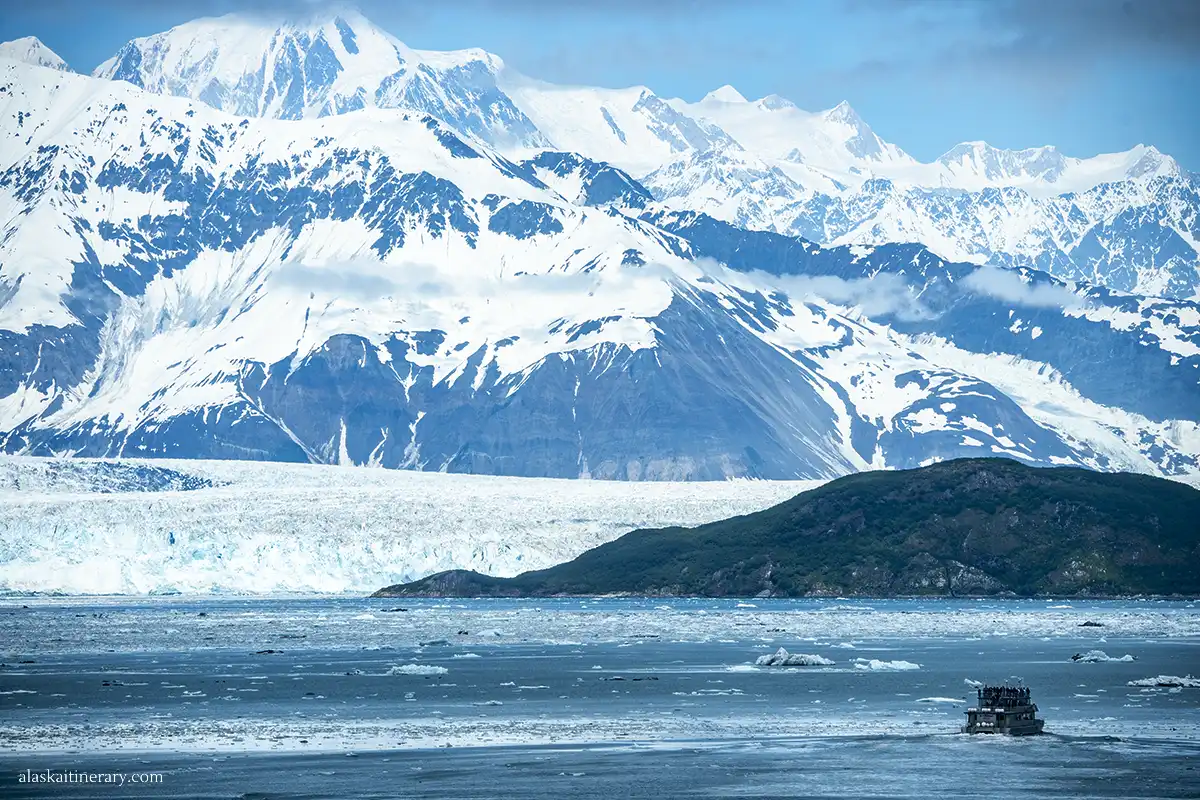
Glaciers require their own approach. Ice is bright, the shadows are deep, and the ship rotates to give everyone views. The best moments, like calving, happen without warning.
The ship itself adds movement. Even slight motion affects sharpness, especially when you zoom in on distant wildlife. Wind and vibration from the deck can also impact your shots.
These unique conditions mean you need simple, reliable techniques that work in real cruise situations. The next sections break down the gear, settings, and strategies that have helped us get clear, sharp, and vibrant photos on Alaska cruises.
Best Photo Gear for an Alaska Cruise
You don’t need a bag full of expensive equipment to take great photos on an Alaska cruise. The right combination of a camera, a good zoom lens, and a few simple accessories can make a big difference. Alaska’s weather, distance, and fast-moving wildlife reward gear that is flexible and easy to handle.
I use a Nikon D750 with an 80–400mm lens, and Chris uses a Canon R6 with a 100–500mm lens. We’re not professional photographers and we don’t earn money from our photos — photography is simply our passion.
We bring a tripod with us, but we’ve learned that it’s not very useful on a moving cruise ship, so it usually stays packed.
Camera Body Options
You can use almost any modern camera on an Alaska cruise. The key is how quickly it focuses and how well it handles low light.
• Mirrorless and DSLR cameras work best for fast action and distant subjects.
• Point-and-shoot cameras with strong zoom lenses can still perform very well.
• Even a good smartphone can capture strong glacier and landscape shots in bright light.

Lenses You Should Bring
A good lens is more important than the camera body in Alaska.
• A telephoto lens is essential for wildlife. Aim for 200–300mm at minimum.
• A wide-angle lens is great for glaciers, mountains, and ship-side views.
• A versatile mid-range zoom (like 24–105mm or 18–135mm) covers most situations.
If you bring only one lens, choose a zoom that gives you range for both wildlife and landscapes.
Accessories That Make a Big Difference
Small accessories help you handle weather, rain, and constant movement.
• Lens wipes for rain, mist, and ocean spray
• A simple camera rain cover or plastic sleeve to protect the camera
• Extra batteries (cold temperatures drain them fast)
• A polarizing filter to reduce glare on water and ice
• A dry bag to keep everything protected on wet days
• Several fast memory cards so you never run out of space
• A neck strap or wrist strap to keep your camera secure on windy decks
These items take little room but save many shots.

Using a Smartphone on an Alaska Cruise
Smartphones work well for wide landscapes, glaciers, and quick shots. They struggle with distant wildlife, but you can still get good results with a few tricks:
• Keep the lens clean and dry.
• Use the main camera, not digital zoom.
• Hold the phone steady with both hands.
• Tap the screen to set focus and adjust exposure.
• Shoot bursts when wildlife appears.
In bright, even light, a phone can capture glacier colors beautifully. We will share more phone-specific tips later, so you can get great photos even without a large camera.

Best Camera Settings for Alaska Cruise Photography
You don’t need complex settings to take strong photos in Alaska. Simple adjustments help you handle fast-changing light, moving wildlife, and bright glacier ice. The goal is to keep your camera ready so you never miss the moment.
Settings for Glaciers
Glaciers are bright, but the shadows are deep. The ship moves slowly, so you can focus on exposure and composition.
• Set ISO between 100 and 400 in bright weather. Increase it only when clouds move in.
• Use aperture f/8–f/11 to keep the entire glacier sharp.
• Shutter speed around 1/250 sec works well from a still deck.
• Slightly underexpose if the ice looks too bright. This keeps the blue tones rich.
• Use single-shot autofocus and take your time with each frame.
Watch for reflections on calm water and be ready when you hear the glacier crack.

Settings for Wildlife
Wildlife on Alaska cruise moves fast, and it often appears far from the ship. You need speed and focus you can trust.
• Use ISO 400–800 on most days. Go higher if the light is low.
• Set a fast shutter speed: 1/1000 sec or faster for whales, birds, and orcas.
• Choose continuous autofocus (AI Servo or AF-C).
• Use burst mode so you can capture several frames during action.
• Keep your zoom lens at the ready and track the subject through the viewfinder.
These settings help you react quickly when a whale surfaces or an eagle dives.

Settings for Low-Light and Cloudy Days
Alaska has many cloudy days and narrow fjords with limited light.
• Set ISO between 800 and 1600 to avoid blurry shots.
• Use your lens stabilization if available.
• Choose shutter speed 1/250 sec or faster when the ship moves.
• Keep the camera dry and wipe the lens between shots to reduce haze.
• Shoot in RAW if possible so you can correct dark areas later.
Clouds can create soft, even light that works well for landscapes and glacier details.

Smartphone Settings for Alaska Cruise Photography
A smartphone can perform surprisingly well on an Alaska cruise, especially for glaciers and landscapes. You only need a few quick adjustments to improve your photos.
• Clean the lens often. Moisture, mist, and fingerprints soften every image.
• Use the main camera lens, not digital zoom. Digital zoom reduces quality fast.
• Tap the screen to set focus and then slide your finger to adjust exposure.
• Lower the exposure slightly when shooting ice or snow to keep the details sharp.
• Use burst mode for whales or birds in flight.
• Hold the phone steady with both hands or lean against a railing for support.
• Turn on stabilization when shooting video of calving glaciers or whales.
These simple steps help your phone capture crisp, clear images in Alaska’s fast-changing conditions.

How to Photograph Glaciers from the Ship
Glacier day is one of the highlights of an Alaska cruise. The ship slows down, the decks fill with excited passengers, and the captain rotates the vessel so everyone gets a clear view. To get strong photos, you need to prepare early and react to quick changes in light, distance, and ice movement.
If your cruise itinerary takes you through Glacier Bay or Hubbard Glacier, you’re in for an incredible show and plenty of chances for stunning photos.
Choose Your Spot Early
Walk out on deck at least 20–30 minutes before the ship reaches the glacier. This gives you time to pick a stable spot with a clear view.
• Upper decks offer wide angles and fewer obstructions.
• The bow is great for glacier approach if it’s open.
• Switch sides when the captain rotates the ship to get new angles.
Avoid shooting only from your balcony. Balcony views are beautiful, but you miss many angles and reflections on the opposite side.
Pay Attention to Light
Light changes quickly as you enter a fjord.
• Blue ice looks best on overcast days or when the sun hides behind clouds.
• Direct sun can create glare, so lower the exposure slightly.
• Watch for dramatic shadows on steep glacier faces.
Take a few test shots and adjust exposure before the ship reaches the main viewing point.
Look for Reflections and Details
Calm water often creates perfect reflections near the glacier.
• Turn your camera vertically and horizontally to capture both styles.
• Zoom in to photograph deep crevasses, caves, and blue cracks in the ice.
• Watch for seals resting on ice floes — they often appear near tidewater glaciers.
These small details add variety to your glacier gallery.
Prepare for Calving
Calving happens without warning. Listen for cracking sounds and be ready to react.
• Use burst mode to capture the entire sequence.
• Keep your shutter fast enough to freeze falling ice.
• Hold the camera steady and track the movement.
Even if you miss the first break, a second or third piece often follows.
Protect Your Gear
Glacier areas are cold, windy, and wet.
• Wipe your lens often. Mist settles quickly on the glass.
• Use a simple rain cover or even a plastic bag when wind pushes spray toward the deck.
• Keep extra batteries in a pocket to keep them warm.
Moisture is one of the biggest challenges on glacier day, so take a moment to clean your lens before each shot.

How to Photograph Wildlife from the Ship
Wildlife sightings are some of the most exciting moments on an Alaska cruise. Whales, orcas, sea otters, seals, and bald eagles can appear at any time. Sometimes you may spot bear on a coast from a distance.
The challenge is reacting fast, keeping your camera steady, and using simple techniques that work from a moving deck.
Sometimes wildlife appears so far from the ship that it’s better to enjoy the moment instead of taking a blurry photo. When animals keep their distance, we love watching them through binoculars.
Know What Wildlife You May See
Wildlife varies by region and month, but these are the most common sightings from a cruise ship:
• Humpback whales
• Orcas
• Sea otters
• Harbor seals and sea lions
• Bald eagles
• Puffins in some areas (especially near cliffs)
• Bears along the shore
Most animals appear at a distance, so be ready with a zoom lens or burst mode on your phone.
Scan the Water Constantly
Wildlife photography on a cruise is a waiting game.
• Look for whale blows — white puffs rising from the water.
• Watch for dark fins cutting the surface.
• Keep an eye on birds circling above feeding areas.
• When the ship slows down, stay alert. Slowing often means someone spotted something.
Move around the deck if needed. Staying flexible helps you reach the best angle.
Use Burst Mode for Fast Action
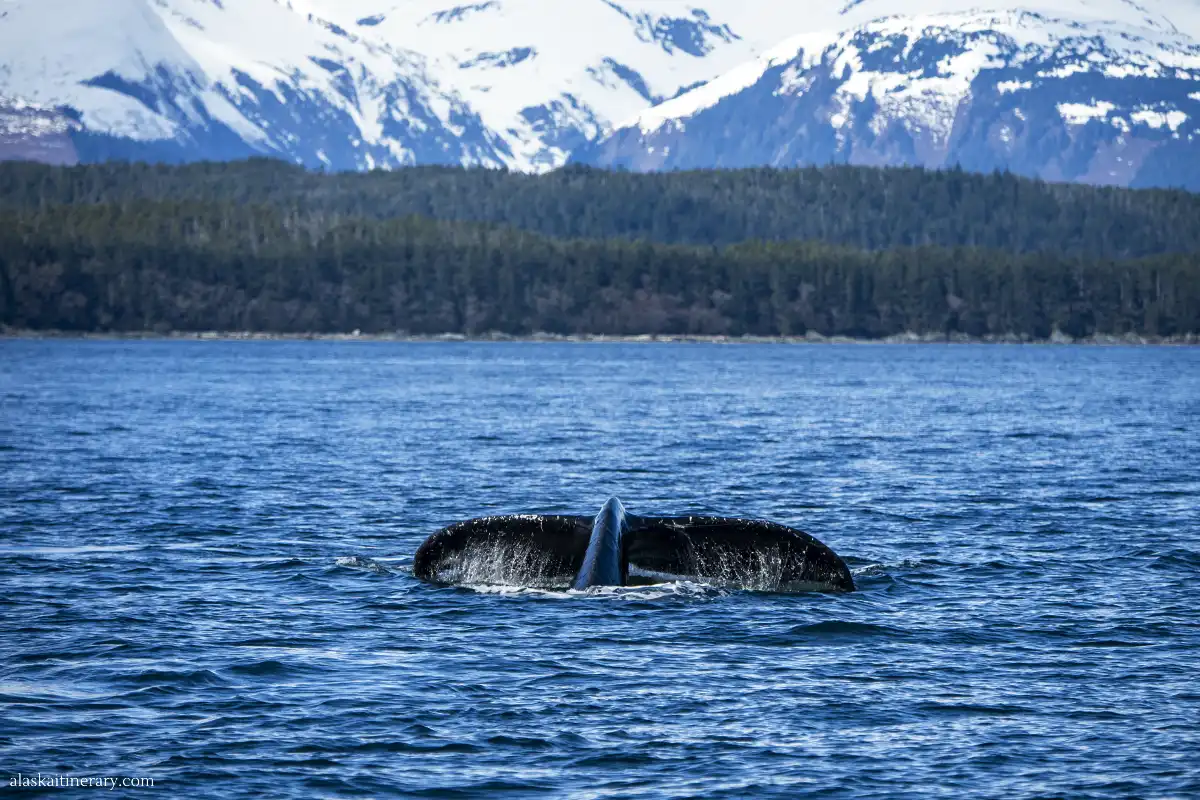
Whales and orcas move fast and surface for only a few seconds.
• Use burst mode to capture a sequence of shots.
• Hold the shutter and follow the movement.
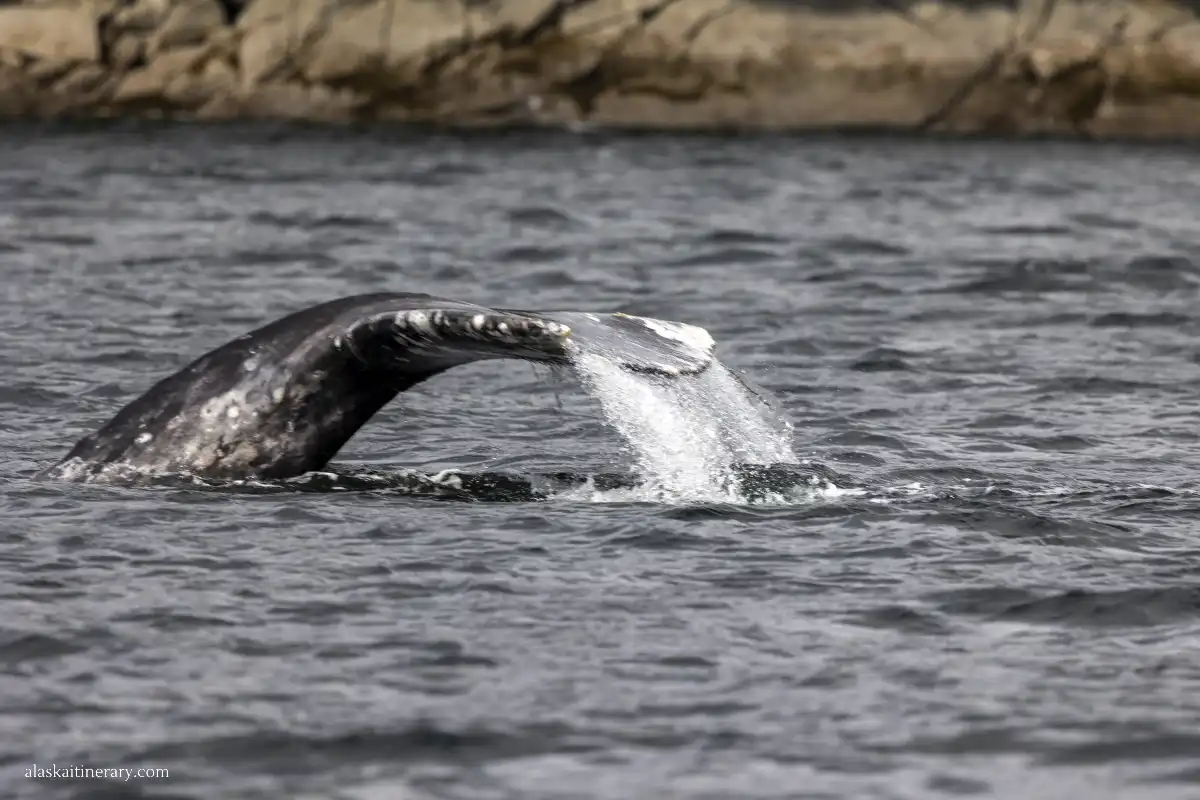
• Keep space in your frame so you don’t cut off the tail or splash.
A single long burst often gives you one or two sharp frames.
Choose a Fast Shutter Speed
Movement from the ship and wildlife both affect clarity.
• Use 1/1000 sec or faster for whales, orcas, and birds.
• Raise ISO if needed to keep the shutter fast.
• Use continuous autofocus to track the subject.
These settings help you freeze splashes, tail slaps, and fin breaks.
Anticipate Whale Behavior
You often get a hint before something big happens. Whales show patterns.
• A deep dive usually ends with a tail lift.
• If humpbacks feed, birds often circle above the area.
• Orcas may surface several times in a straight line — follow their direction.
Anticipation gives you those perfect “moment shots.”
Watch Your Background
Alaska gives you dramatic mountain backdrops, but cluttered backgrounds can hide wildlife.
• Try to place whales against open water for clear silhouettes.
• Shoot slightly downward when possible.
• Change your position to avoid railings and heads in your frame.
A clean background makes wildlife stand out.
Stay Patient
Not every sighting leads to a perfect photo. Some animals dive before you can raise your camera. Others appear far away. Stay patient and keep your camera ready. When wildlife gets close to the ship, the payoff is worth the wait.
Photography Tips for Alaska Cruise Ports
Each Alaska port offers unique photography opportunities. The light, the landscapes, and the subject matter change from town to town. Even short port days give you time to capture strong images if you know where to go and what to look for. Here are the places where we focus our photography during our port visits.
Agnes’ Advice: If you book a shore excursion, read the rules before you go. For example, small planes and helicopter scenic flights allow a camera, but bags and backpacks are not permitted, so make sure you’re prepared.
Juneau
Juneau is one of the best ports for glacier photography.
- Mendenhall Glacier has several angles, including the Photo Point Trail with a clear, wide view.
- On misty days, reflections on Mendenhall Lake look soft and dramatic.
- Nugget Falls creates strong foreground interest for wide-angle shots.
- During rainforest hikes, use the even light under the canopy to capture moss, streams, and wooden boardwalks.
If you take a whale-watching tour, keep your camera ready during the entire ride. Humpbacks often appear without warning. On clear days, I love riding the Goldbelt Tram for sunset views over Juneau. The light from the top is perfect for scenic shots of the port.

Ketchikan
Ketchikan is known for rain, low clouds, and colorful waterfront scenes.
- Creek Street is perfect for bright, colorful photos, even on cloudy days.
- Totem poles look great in soft light — visit Totem Heritage Center or Saxman Totem Park.
- In the rainforest, water droplets and mossy textures stand out after rain.
- Watch your lens for fog or moisture when you step out of warm interiors into cool air.
Rain creates mood, so don’t put your camera away when the weather changes. One of the best Ketchikan shore excursions we took was a scenic flight over Misty Fjords National Monument. It gave us an amazing perspective for photographing the landscape from above.

Skagway
Skagway offers big mountain scenery and great leading lines.
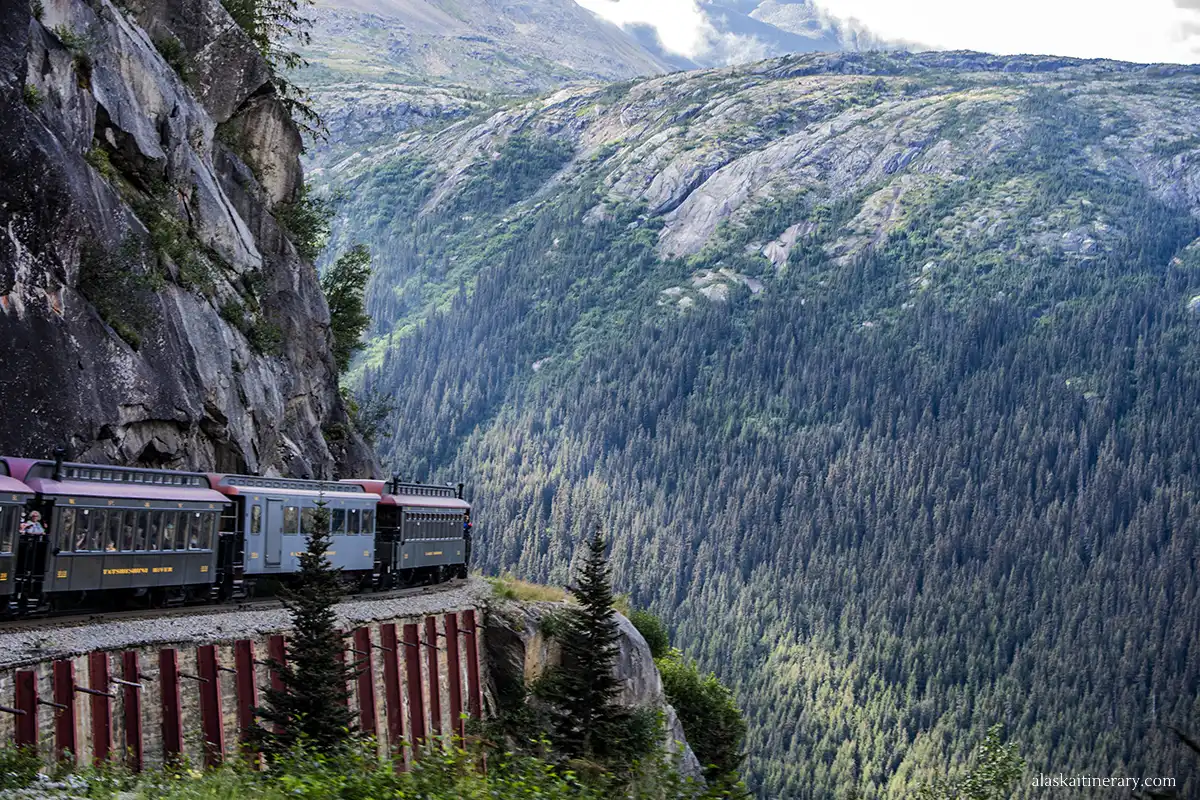
- The White Pass area is full of deep valleys, sharp ridges, and long sweeping curves.
- If you take the White Pass Scenic Railway, photograph from both sides of the train for bridges, cliffs, and waterfalls.
- Stop in town for colorful downtown historic buildings and mountain backdrops.
- Use a wide lens in early morning or late afternoon to capture soft light in the valley.
The light changes fast in the mountains, so check your exposure often.
Sitka
Sitka combines ocean views, forest trails, and strong wildlife chances.
- Visit Sitka National Historical Park for coastal trails and towering spruce trees.
- Eagle sightings are common, especially near the shoreline and harbor, or in Alaska Raptor Center.
- The volcanic shape of Mount Edgecumbe creates striking compositions on clear days.
- If you take a wildlife boat tour, look for whales, sea otters, puffins, and coastal cliffs.
Sitka’s variety makes it one of the most rewarding photography ports.

Icy Strait Point
Icy Strait Point is excellent for wildlife.
- Keep your camera ready near the pier — humpbacks often feed in these waters.
- Photograph the long boardwalks, forest paths, and the old cannery buildings.
- If you take a whale-watching tour, use fast shutter speeds and burst mode for breaching whales.
The mix of calm bays and deep channels brings great natural light.

Haines
Haines offers big landscapes and birds of prey.
- The Chilkat River is a prime spot for eagle photography.
- The surrounding mountains give you dramatic backdrops on clear days.
- Walk the small waterfront area for boats, reflections, and mountain scenery.
Haines has fewer crowds, so you can take your time with compositions.

Shooting from Smaller Boats
If you join a shore excursion on a smaller boat during your Alaska cruise — like a whale-watching tour, a kayak or canoe trip, or a Zodiac-style adventure — you’ll have great chances to take close, dramatic photos. These smaller vessels get you much closer to wildlife, cliffs, and glaciers than the cruise ship ever can.
But they also come with more movement, more spray, and more risks for your gear, so it’s important to be ready before you step on board.
If you’re joining a Zodiac or kayak excursion, think carefully before bringing your main camera. We learned this the hard way. On one of our Zodiac whale-watching tours, splashing water, strong wind and sudden rain soaked our lenses and camera. Saltwater can damage even waterproof gear.
Since that trip, we often use our phones for these fast-moving adventures and keep them protected in waterproof cases.
Stay Ready for Fast Movement
Small boats move constantly, even on calm days.
• Use a fast shutter speed to avoid blurry shots.
• Hold the camera tight to your body for extra stability.
• Take several frames of each scene — one of them will be sharp.
• Keep your strap around your wrist or neck at all times.
The closer you get to wildlife or glaciers, the more movement you feel.
Protect Your Gear from Water
Spray, rain, and waves reach lenses quickly.
• Bring a simple rain sleeve or use a clear plastic bag with a rubber band.
• Keep a microfiber cloth in your pocket and wipe your lens often.
• Store everything in a dry bag when not in use.
• If you use a phone, consider a waterproof case.
Moisture ruins sharp photos faster than low light or motion.
Use Continuous Autofocus
Wildlife boats move and wildlife moves — you need a focus mode that follows the action.
• Set the camera to continuous autofocus (AF-C or AI Servo).
• Use burst mode to capture sequences of movement.
• Track whales, otters, and birds as they move along the surface.
This is the easiest way to get sharp action shots.
Capture the Scale of Fjords
Fjords like Kenai Fjords, Glacier Bay, and Tracy Arm offer dramatic rock walls, waterfalls, and icebergs.
• Use a wide lens to show the scale of cliffs and narrow passages.
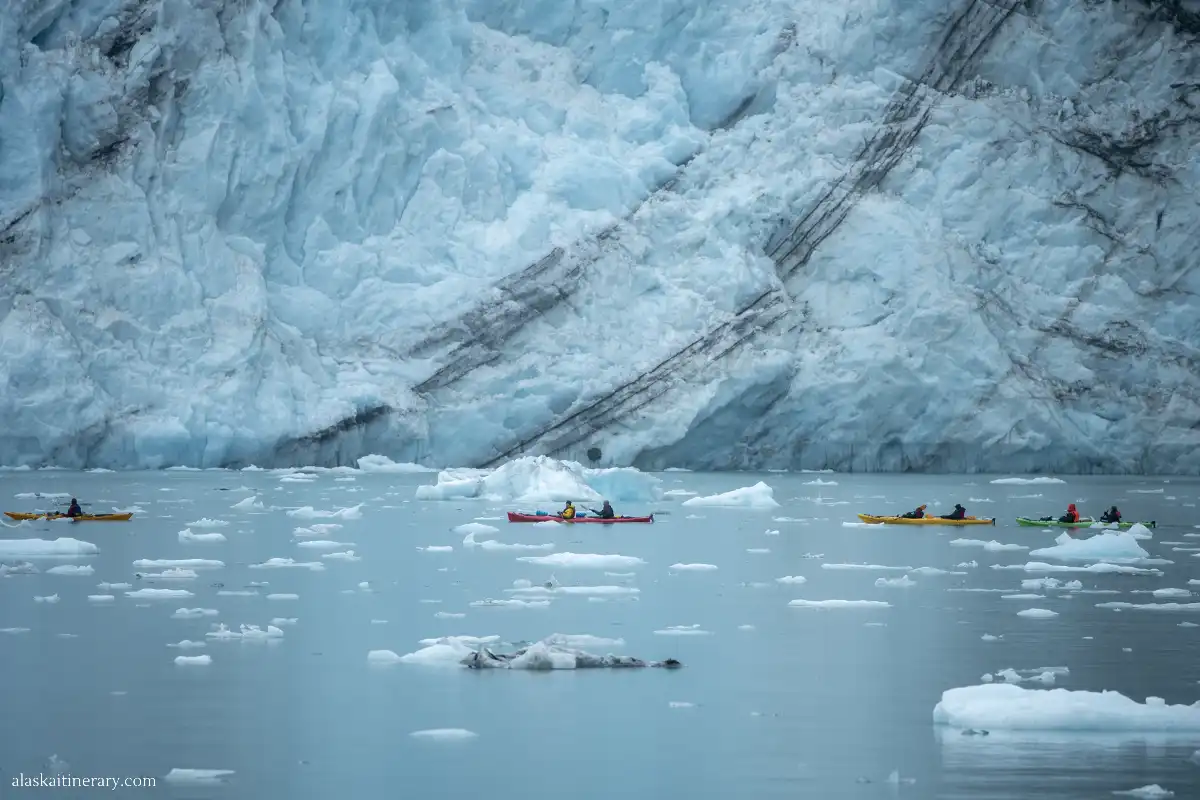
• Look for smaller boats in the frame — they show how massive the landscape is.
• Turn the camera vertically to capture tall ice walls and waterfalls.
Every corner brings a new angle or reflection.
Balance Wide Shots and Close-Ups
Small boats let you photograph both big landscapes and intimate wildlife moments.
• Use telephoto lenses for otters, seals, and puffins.
• Switch to a wide lens for glaciers, cliffs, and reflections.
• Move quickly but safely — boat space is limited.
You will often switch lenses faster here than anywhere else in Alaska.
Kayaking Photography Tips
Kayaking gives you low perspectives and calm-water reflections.
• Use a phone or a lightweight camera you can handle with one hand.
• Keep the camera in a waterproof case between shots.
• Shoot when the water is calm for perfect reflections.
• Take wide shots that show the kayak bow — it adds depth and storytelling.
This is one of the safest ways to take beautiful close-up iceberg and glacier shots.
Follow Crew Instructions
Wildlife boats and kayak guides know the behavior of local animals and how close they can safely get.
• Listen to their cues — they often tell you where to point your camera.
• They also control the approach speed, which helps you get steadier shots.
• Stay seated unless the crew says it’s safe to move.
Good positioning often comes from teamwork between you and the guide.
Editing Tips for Alaska Cruise Photos
A few simple edits can make your Alaska photos look clean, bright, and natural. You don’t need advanced software to improve your images. Even basic apps can help you correct bright glacier scenes, bring back details, and balance the light from cloudy days.
Use Simple Editing Apps
You can edit photos on your phone or computer.
• Snapseed and Lightroom Mobile are great for quick edits.
• Lightroom, Luminar, and Capture One work well on a computer.
• Use the same app for most of your edits so your images stay consistent.
These tools let you adjust color, brightness, and sharpness without overdoing it.
Fix Exposure and Bright Areas
Glaciers and snow can make photos look too bright.
• Lower the highlights to recover detail in ice.
• Increase shadows slightly to show rock faces and fjord walls.
• Adjust exposure slowly — small changes make a big difference.
You want to keep the natural tones of the glacier without making the photo look flat.
Improve Glacier Colors
Glacial ice has beautiful blue tones, but cameras sometimes wash them out.
• Increase contrast a little.
• Add a touch of clarity or texture to show cracks and details.
• Reduce haze if the air looks foggy or soft.
• Keep saturation low — Alaska looks natural, not neon.
These steps help your glacier photos look closer to what you saw in real life.
Sharpen Wildlife Shots
Distant wildlife often needs a bit of extra clarity.
• Add a small amount of sharpening, but avoid making the edges look rough.
• Increase contrast or texture to define fur or feathers.
• If the photo is noisy from high ISO, apply noise reduction carefully.
This helps you keep the natural look while improving detail.
Correct the Color Balance
Cloudy days can make photos look too blue or too gray.
• Warm the image slightly to bring back realistic tones.
• Adjust white balance if water or clouds look unnatural.
• Keep your changes subtle.
Alaska’s colors are soft and calm, so gentle edits work best.
Keep Your Edits Natural
The goal is to enhance your photos, not change the scene.
• Avoid heavy filters that distort colors.
• Don’t oversaturate water or sky.
• Aim for a clean, realistic look.
Alaska already looks beautiful — your edits should match that.

Agnes’ Advice: Final Photography Tips for Alaska Cruises
A few simple habits can help you make the most of every moment on your Alaska cruise. These small steps come from our own trial and error during many cruises, glacier days, and wildlife encounters.
• Back up your photos every night. Bring a small SSD or upload to cloud storage when you have Wi-Fi. Alaska’s moments are rare, so don’t risk losing them.
• Keep a microfiber cloth in your pocket. Moisture, mist, and raindrops show up fast on lenses and phone cameras.
• Step outside even when the weather looks bad. Some of our favorite glacier and wildlife photos were taken during rain, wind, or fog.
• Remember to turn around. The best light or the most dramatic scenery is often behind you, not in front of the ship.
• Check your settings often. Light changes quickly in fjords. A quick look at ISO and shutter speed helps you stay ready.
• Wake up early and stay out late. Alaska’s best colors often appear at sunrise and sunset, when the light is soft and warm.
• Take breaks from the camera. Some scenes are better enjoyed with your own eyes. We often pause, breathe, and take in the moment before raising the camera again.
These simple habits help you enjoy your cruise while still capturing the beauty of Alaska’s landscapes, glaciers, and wildlife.

Final Thoughts
An Alaska cruise gives you endless chances to capture glaciers, wildlife, and rugged coastlines. The scenery changes by the minute, and every day brings a new moment to photograph. With simple settings, the right gear, and a bit of preparation, you can take photos that truly reflect what you see from the ship and during your port days.
Chris and I learned these tips through years of cruising, waiting on windy decks, wiping rain off lenses, and reacting fast when whales appeared. We hope these ideas help you feel confident and ready when Alaska puts something unforgettable in front of you.
Take your photos, enjoy the views, and don’t forget to pause and soak in the experience. Alaska has a way of surprising you when you least expect it — sometimes the best moments happen when you simply look up from the camera.
Do You Like It? Pin It For Later!


I thought you would need a sturdy tripod to take pictures from the cruise ship, but apparently not. These are the best tips because you give us info for the camera and lenses, how to use them, how to clean them, light, weather, and more. And you provide info for people with DSLR cameras and smartphones.
This will be a very helpful guide when I take my Alaska cruise in September.